
If you’re thinking about starting a blog or building a WordPress website, you’re in the right place. In this article, I’ll walk you through the entire process step by step.
But first—why choose WordPress? Well, it’s one of the best platforms out there for creating anything from a simple blog to a full-fledged e-commerce site. Plus, it offers tons of free and premium tools that make your website look great and run smoothly, even if you’re not a tech expert.
Here is a step-by-step guide on how to use WordPress to create a website.
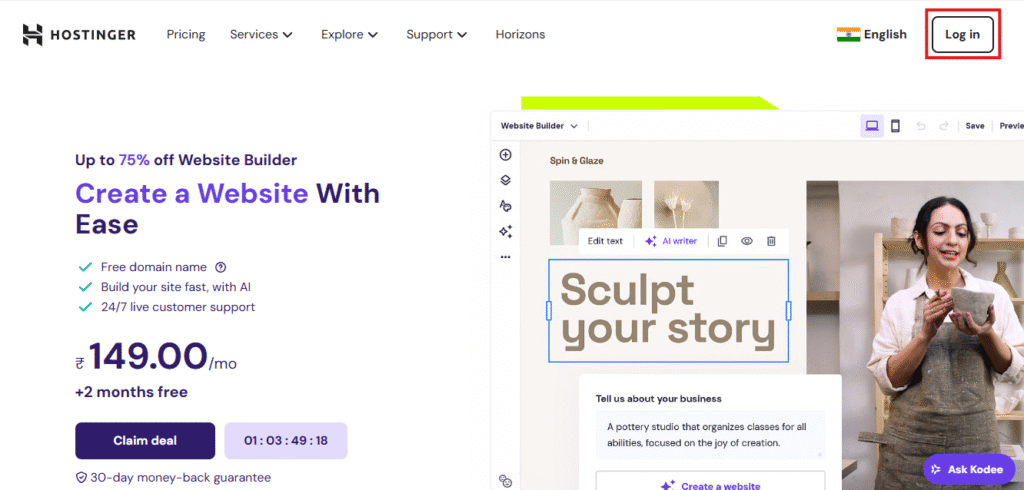
Step 1: Visit the Hostinger Website
Click on the link below or simply go to the official Hostinger website. Once you’re on the homepage, look at the top right corner—you’ll see the “Login” button. Go ahead and click on it to get started.
Once you’ve logged in, you’ll be taken to a page where you’ll need to enter some basic personal information like your name and address. Just fill in the details accurately, then click Continue to move on to the next step.
Step 2: Choose Your Hosting Plan
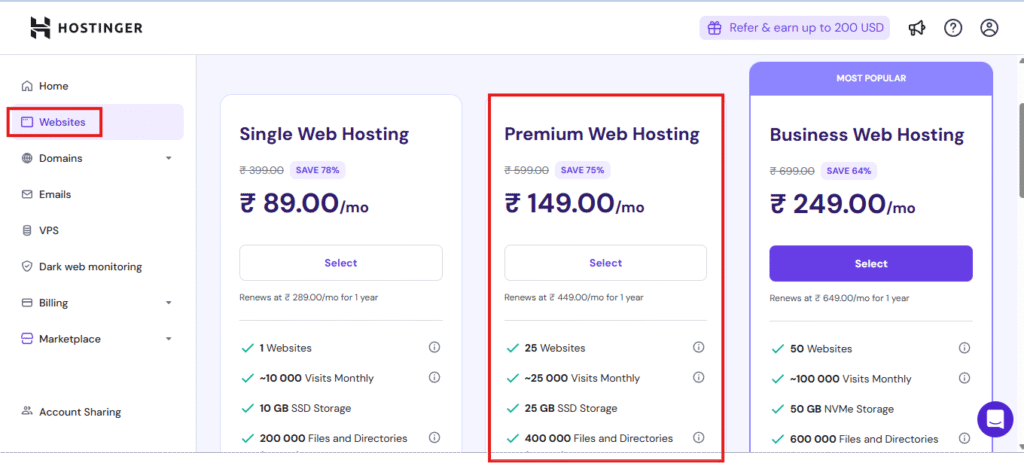
After logging in to the Hostinger website, take a look at the left-hand side of the dashboard—you’ll see a section highlighted in red called “Website.” Click on it.
From there, you’ll be able to view different Web Hosting plans. Choose the one that best fits your needs. If you’re just starting out, I recommend going with the Web Hosting option, and under that, the Premium Web Hosting plan is a great choice for beginners—it’s affordable and gives you everything you need to get started.
After selecting the Premium Web Hosting plan, you’ll be taken to the payment page. Here, you can choose your preferred payment method—whether it’s debit card, credit card, net banking, or UPI.
Just fill in the required details, make the payment, and click Continue to move ahead with setting up your website.
Step 3: Choose a Website Template
Once your payment is complete, you’ll be directed to a page where you can choose a website template. Hostinger offers both free and paid templates, depending on your needs and niche.
Take your time to browse through the options and pick a theme that fits your style or the purpose of your website—whether it’s a blog, portfolio, or online store.
Step 4: Set Up Your WordPress Site and Add a Domain
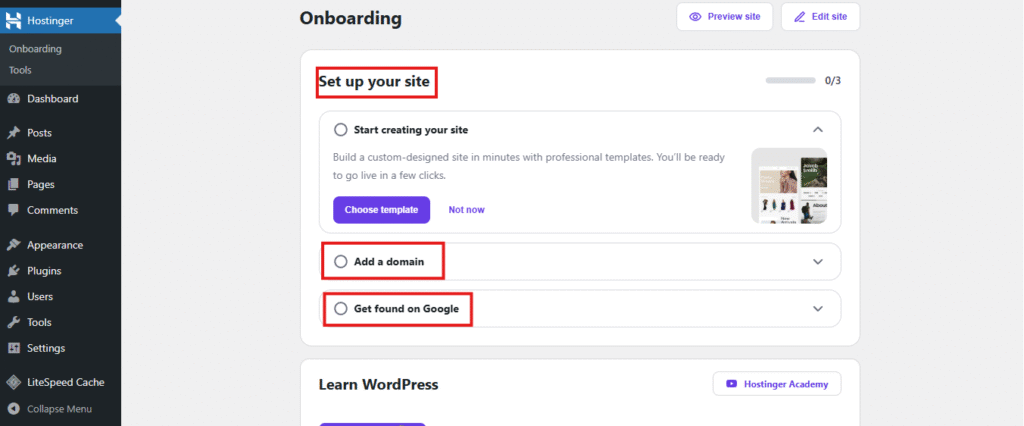
After selecting your template, you’ll be taken straight to the Hostinger WordPress dashboard. Here, you’ll see a simple onboarding setup to help you get started.
One of the first things you’ll notice is the “Add Domain” option. If you don’t already have a domain, click on Add Domain to register a new one. But if you already own a domain, you can skip that step and click on “Get Found on Google” to continue.
Since I don’t have a domain yet, I’ll go ahead and choose the Add Domain option.
Click on the Add Domain button, and then select the “Connect on hPanel” option to buy a new domain.
Once you complete that step, you’ll be taken back to the main Hostinger dashboard. Here, you’ll see a “Change Domain” option—go ahead and click on it to link your newly purchased domain to your website.
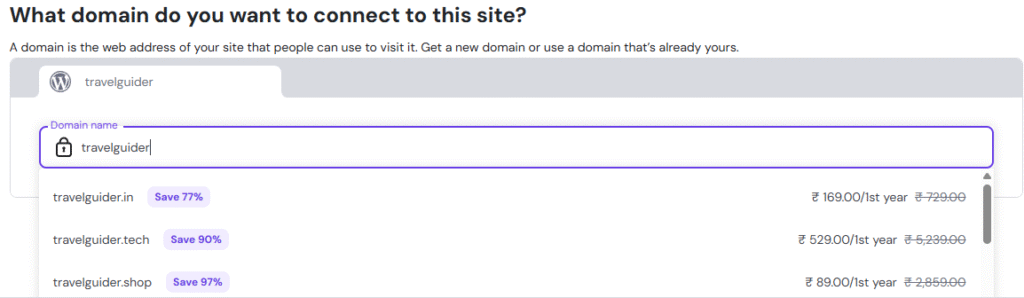
Now, it’s time to pick a domain name that matches your niche or brand. You’ll see different domain extensions like .com, .in, or .org, each with its own price. Choose the one that best suits your website.
Once you’ve selected your domain, click Next. You’ll be asked to enter your payment details. Complete the payment—and that’s it!
Congratulations! You’ve successfully created your WordPress website with Hostinger.
Also Read: Best WiFi Dongles That Support All SIM Cards


2 thoughts on “Create Your First Website with WordPress – Easy Guide for Beginners”